Gold Leaf

Black Forest - Part 10

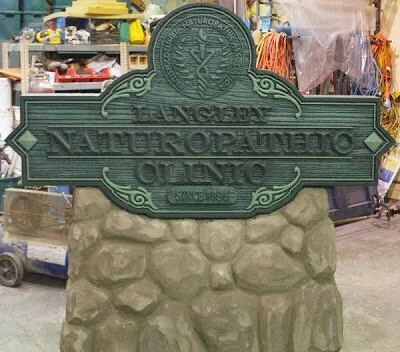
Once the last of the glazes is dry it is time to start painting the lettering. We started by putting two coats of a cream colour on the lettering.

At this point, the sign really comes together - the focus is clearly on the lettering! It is a sign after all and needs to do its job.

After that, we gilded the primary copy. And, once the gold leaf was on, we touched up the secondary lettering with couple of brush strokes of white to brighten it up and balance the sign.

finishing touch.jpg

The sign needed a couple of days of dry heat to cure before we sent it on to its final home.

Naturopathic Clinic - Part 5

The first step when painting is applying the primer and then the coloured base coats. The dark green border exactly matched the client’s building. Dan painted the woodgrain a lighter, custom mixed shade. Over this he would later add two layers of glaze to highlight the grain.

painting green.jpg

While the paint cured he sculpted the rock work with fiberglass-reinforced-concrete (FRC). The needs to dry for a minimum of three days before being painted to look like rock.

base colors done.jpg

Meanwhile, Dan painted the pinstripes and ornaments using the light green colour he has used as the base colour for the woodgrain.

sign finished.jpg

Dan painted the rocks with the blended base coats to colour the stones and then using an undercoat gun with low air pressure (30 lbs. or so) to create a speckled effect reminiscent of granite. Once the paint was dry, he painted in the grout lines between the rocks with a small brush.

While Dan was waiting for the various coats of paint to dry on the rocks he painted on the gold size which is clear like varnish. He used a slow size this time and it took 12 hours to set up enough to apply the gold.

Next he carefully applyied the 23K gold leaf. The dark greens of the sign make the gold feel very rich. The sign sparkles even in the artificial light of the shop — it should look spectacular out in the sunlight!