
With the frames complete we shifted gears and moved back to the tires. They only needed a little handwork on the centre treads to finish them up. The hand die grinder made quick work of the high density urethane and once they painted up they will look great!

Then it was time to switch gears again and move on to the truck bodies. We decided to slice the pickup in vertical slices, while the Jeep was sliced horizontally to facilitate the interior detail. The grill for the Jeep was done as a separate piece, as were the inner fender wells, and front fenders.
The yellow areas were done as fills, while the blue lined are straight cuts. Everything will be cut from one inch thick 30lb. Precision Board HDU.


We also designed and cut the pieces for the signs themselves. From here on the piece mostly required involve handwork.

As the pieces came off the CNC router we took the time to mock up both trucks. This is an important part of our process as it's still easy to make changes and adjustments at this stage.


Next we drilled some holes in the frame and glued in some steel rods. These would be the mounting points for the springs which we fashioned by bending some flat bar. Once we were happy, we welded them on securely.

Then we drilled the wheels and glued in some heavy steel rod. More rod formed the lift kits under the springs. We also added some steel driveshafts. A few more steel bits are still needed for the shock absorbers, tie rods, and the exhaust system. After that it’s time to break out the sculpting epoxy.

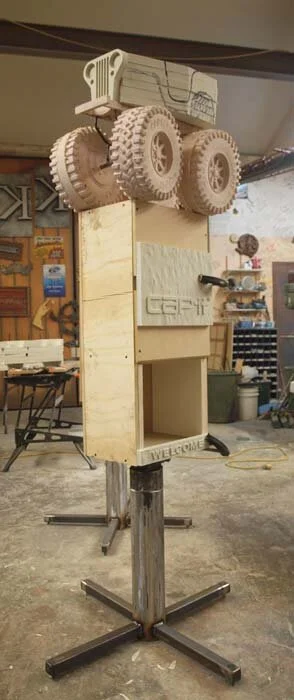
At this stage we mocked up the entire sign just to make sure everything was working together. At this point, the piece tops out at a little over six and a half feet tall now and will get even higher with the windshield and roll bar.
The two trucks are now worked up enough that we can do some sculpting on the undercarriages.

We worked on the springs first, then the differentials. The exhaust system was next and then the last little bits and pieces of detail.

The holes drilled in the bottom of the tires match up with short pieces of threaded rod which are glued into the rock base under the truck. After the pieces are painted we'll drop some epoxy in the holes and slide the truck onto the top permanently.

This project reminds me of my father’s famous four wheeling days. I was just a kid when he owned his old Toyota Land Cruiser into which he had stuffed a big V-8. It sported extra large tires, a winch, a full roll cage, and sundry other modifications. It was a pretty potent vehicle that could go just about anywhere - no matter how steep or rough. He had painted it bright yellow and dubbed it the 'BIONIC BANANA'. Never one for subtly, my father.