Bending High Density Urethane with Heat

A few years ago, my father visited Coastal Enterprises' operation in California and he asked Chuck Miller if it would be possible to use heat to bend a sheet of Precision Board High Density Urethane. Chuck’s advice was to let the heat soak into the HDU really well because Precision Board is a good insulator and doesn't transfer heat well.

So, when he got home my father popped a good size scrap of Precision Board into the oven and turned the heat to 200 degrees Celsius. Fifteen minutes later he threw on a pair of oven mitts and pulled it out of the oven. And Chuck was right, it easily bent and then hardened quickly into its new shape. (Keep in mind my father’s experiment was done with 30 lbs. Precision Board.)

Since that first experiment we have used this trick a number of times. First we route into the board and then we heat the pieces up to bend them, clamping them over a buck (form) to harden.

Fossil Fish

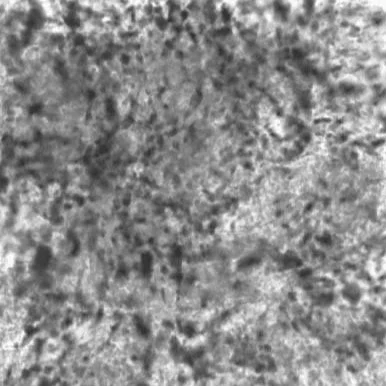
Many years ago, just after he learned how to use bitmaps to create textures in EnRoute, my father was eager to see just what he could do with them. He began looking everywhere he could to find inspiration and he found it in his collection of old National Geographic magazines. He spent hours scanning the old photos and see what the images would do in the program. By trail and error, he figured out what worked the best and how to tweak and adjust the pictures to work even better.

For instance, he found a picture of a fossilized fish and pulled it into Photoshop to adjusted the picture’s contrast and add a few details.

Then he created a quick vector file in Illustrator — drawing the vectors for a circular sign.

He imported these files into EnRoute and set to work.

The basic file is quite simple. He made a relief wth a circular outline and modified the relief to add borders and some lettering.

Then he added the fish fossil and some texture using bitmaps.

He added the fish first. (The photo’s white skeleton was raised by the 0.15" and the black sections remained unchanged). Then he layered a second bitmap called splotches (from our Texture Magic: Classic Collection) over the entire file to add a little more texture. The texture was applied wth a subtle 0.05”. As you can see below — the texture is a very effective addition to the sign!

See you next week!

Ribbon Panel

The trick to making the most of EnRoute is to combine a handful simple operations to build a more complex file. It takes the ability to visualize the final result to pull it off, (and some practice) but the results are well worth it.

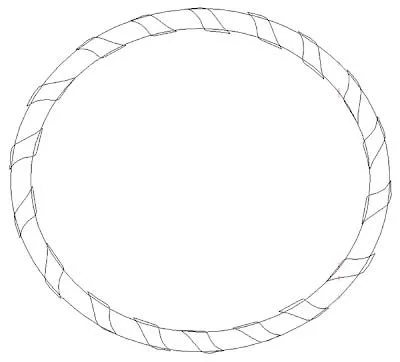
This week we will build an oval with a ribbon wrapped around its edge. The first step is to build the vectors for the ribbon, along with the borders.

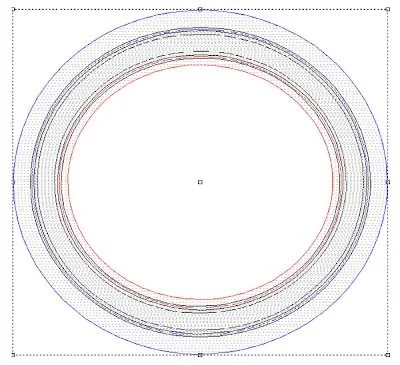
The top and bottom loops of the ribbon vectors then need to be separated with two of the oval vectors.

Then you can use the ovals to create an upward/downward donut shaped relief. Extrude the upper shapes of the top loops of the ribbon to 0.75" tall. Extrude the lower ribbon with the vector shapes at 0.15" tall.

Then you can create a narrow donut for the ribbon to wrap around.

Once these pieces are built and aligned you can merge everything together.

After this you can built the two ring reliefs that will frame the ribbon.

Also create a wider domed oval relief to be the base for the ribbon weave and other elements.

And lastly, create a dome relief for the centre.

Since all these elements are separate, you can float them vertically until you are happy.

Once you are happy with the look of all the elements together you can add the texture and the letting.

Imported a bitmap texture (We used one from our Texture Magic: Classic Collection) and resized over the oval. Then apply the texture (we assigned it a height of 0.15").

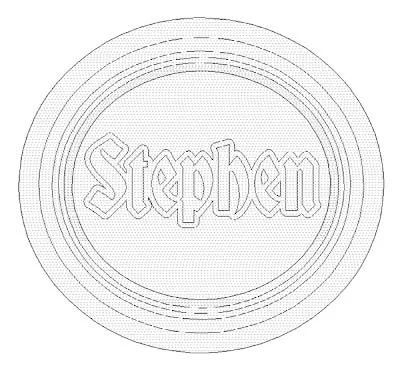
Next you can built a flat relief of the lettering outlines. (You can modified it using an oval vector to match the profile of the textured oval background.)

Used the bevel tool to create the lettering.

You last step will be to create a zero height relief to merge everything to.

Then your plaque is ready for tool pathing and routing.

As you can see, some pretty cool effects can be achieved by building things step by step. The secret is to start simple and build on your knowledge and experience.

See you next week!